Click here to watch the full tutorial!
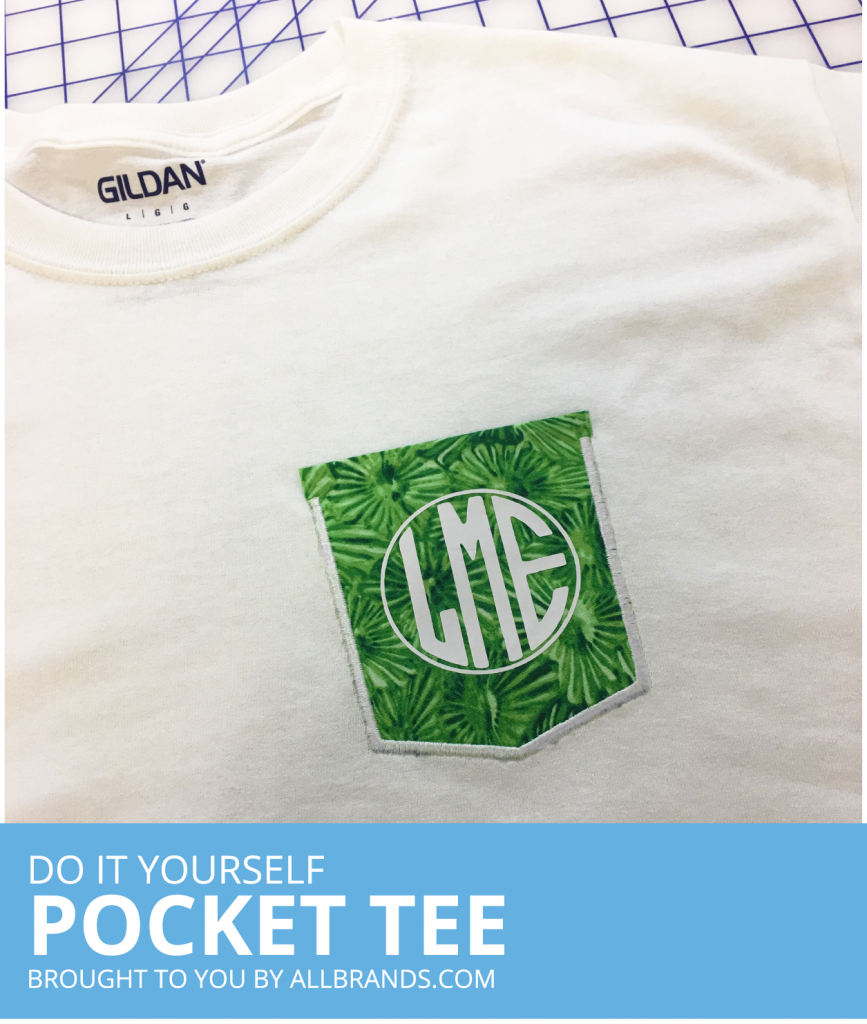
Summer t-shirt season is upon us! Here’s a super cute tutorial for a monogrammed pocket tee! Whether it’s for you or a gift for a friend, these cute and comfy shirts are a summer essential!
What You Need:
- a plain t-shirt
- a fat quarter of fabric
- thread
- heat transfer vinyl
- the design of your choice, printed in black & white.
- (we suggest keeping it to 3″ x 3″)
- Iron
- Brother Scan-n-Cut 2
- USB capable embroidery machine
Step by Step Instructions:
Preparing your design
-
- Printed to scale, place your design in the scanning mat. Scan.
- Select desired outline setting
- In the initial edit screen, crop out excess white space around your design. Save.
- Locate your saved design.
- Select the button in the top left.
- Select the button with the 3 red squares on it.
- Select the right button on the pop up screen. Select OK.
- Select the bottom middle button to complete grouping. Select OK.
- Select the top left button.
- Select the button with the square and two arrows on it.
- Select the mirror button *DON’T FORGET TO MIRROR!*
Cutting your design
-
- Set your blade depth to 1.5
- Set your cut speed & pressure to 1
- Every machine is different, so the settings needed on your machine may slightly vary from the ones we used!
- Place vinyl on the cutting mat, shiny side down!
- Do a test cut using one of the simple shapes built into the machine.
- Colored vinyl should peel off, leaving the clear backing intact with the rest of the sheet! It shouldn’t cut through the whole sheet.
- Take vinyl, place shiny side down.
- With your desired design selected, load mat into the machine. Cut.
- Unload mat, cut loosely around the edge of the design
-
- Cut a 5”x5” square out of your desired cotton fabric
- On an iron safe surface, iron on fusible backing
- Fold over the top of your pocket. Press with iron.
- Hoop your t-shirt with stabilizer.
- Thread your machine.
- Locate your desired pocket applique file, begin
- The next few steps may vary depending on your file set up!
- After the preliminary stitch, place the pocket fabric using the stitch as a guide
- Continue the applique process.
- Trim excess as closely to the stitch as possible.
- Start the final step, trim any more excess upon completion
- Unhoop, and trim away any excess stabilizer
Vinyl application
-
- Peel off excess vinyl, leaving your full design on the clear layer.
- Place.
- Using a presser cloth (we just used our excess pocket fabric), press on using an iron – and i mean really press it!
- Peel off clear backing, and you’re done!