Hello Allbrands friends!
Joanne Banko here with a reminder to watch It’s Sew Easy Series 900 on your local
PBS station. Each episode includes timely tips, tricks, and techniques that are sure to
inspire you, and help you sew and embroider beautiful garments, crafts, home
décor, and more! Whatever your personal sewing passion is, you’ll improve your
skills by watching and learning from a wide variety of instructors.
You’ll want to check your PBS local schedule for specifics, but Lousiana Public
Broadcasting has been airing the show on Saturday morning. CLICK HERE to locate
the current date and time for this Saturday’s show. This week you’ll see the full
episode of It’s Sew Easy #906 – Feminine Fashions from the 1940’s.
In the show’s introduction photos and fashions from the glamourous 1940’s are
highlighted with historical commentary. The 1940’s is by far my personal favorite
fashion era. I love the curvy lines of forties fashions, the bias cut silhouettes, and the
lacy trims that were commonly found on women’s lingerie and loungewear. On this
show you’ll see a dress I created from an original forties style pattern. To give you a
little behind the scenes info, this dress was one of my very own fashion school
projects way back when!
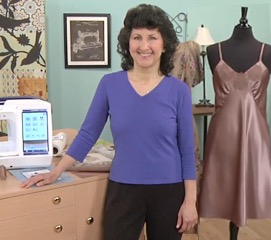
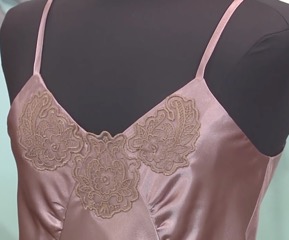
You’ll also see a vintage style slip I made from a modern day reproduction pattern.
The slip is decorated with machine-embroidered lace that is oh so easy to make!
Each step for making this lace is shown in detail on the show.

Next, you’ll see how easy it is to top off a pair of boots with a lacy cuff created by
expert instructor Heather Valentine. Last but not least I wrap up the show by
demonstrating some fancy footwork accomplished with Pearl and Sequin Foot.
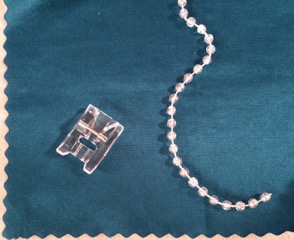
Yes, this foot is perfect for easily stitching pearls and sequins but you can couch
cords and trims with this foot as well. This is truly a multi- purpose foot. Take a look
at some of the projects featured on the show. You’ll see a jewelry case, a candle
centerpiece, a lingerie bag, and a sequin trimmed camisole.

Throughout this entire series I had the opportunity to introduce sewing accessories
that expand your potential for embellishing with the aid of specialty presser feet.
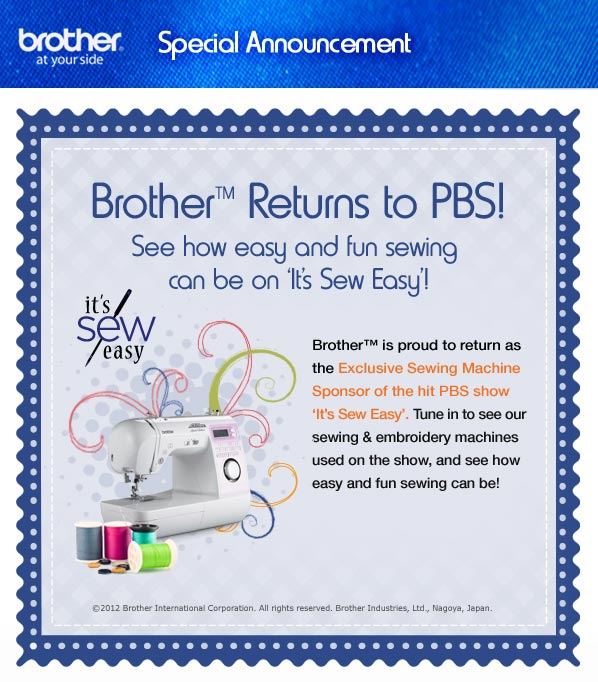
Stay tuned for more tips and tricks in the near future. By the way, you can thank the
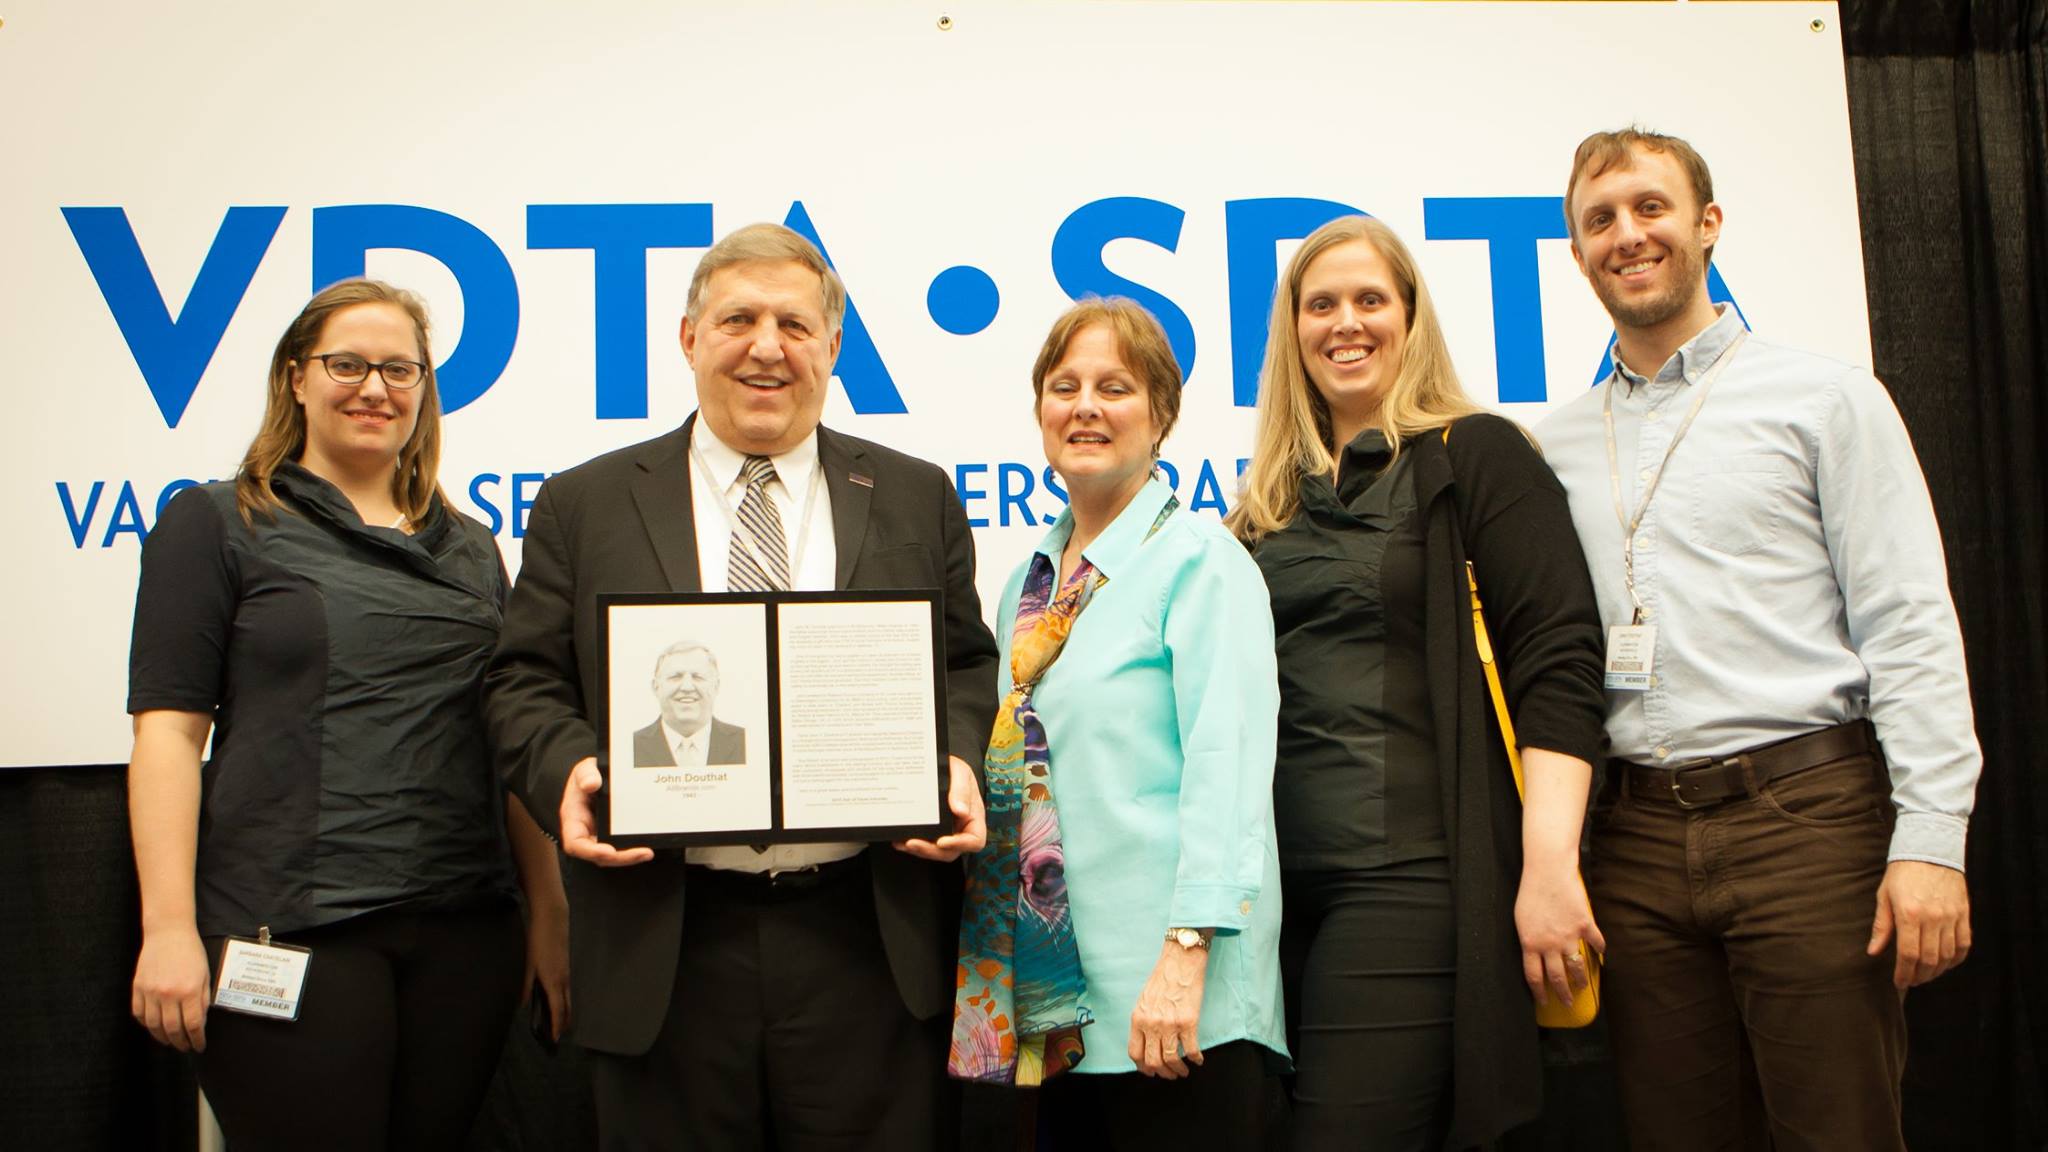
folks at Allbrands.com for sponsoring this top notch sewing show. Did you know
that Allbrands was named Louisiana Public Broadcasting Underwriter of the year in
2013? That’s quite and honor and a well deserved one at that. Next time you are in
one of the all brands retail locations or on the phone with an Allbrands.com
representative be sure say thank you and let them know you appreciate their effort
to keep sewing on the airwaves.
Until next time, Happy Sewing from your sewing friend,