Dress Up with Decorative Stitches – Part Three of Easy Embellishments
by Joanne Banko

Let’s Get Started
Today I’d like to share some embellishment techniques I used for a group of dresses featured on the popular PBS TV show, It’s Sew Easy. This informative sewing show is produced by KS Productions Inc. and airs all over the country. Check local PBS listings for show times in your area. Designers and teachers involved in every aspect of the sewing and embroidery industry are featured on this show. It’s Sew Easy will help you enhance your sewing skills and have more fun in your own sewing space!
In addition to watching the PBS TV show, you can view segments on itsseweasytv.com. Each week a new episode is uploaded and remains online for a full week. Visit the site this Friday, May 16, 2014 you will see me demonstrate decorative techniques for dresses on Episode 608, titled Classic Use of Ribbons and Trims. Join the website and you’ll gain access to the entire archive of free project downloads, which includes valuable tips and a helpful supply list for the dresses seen on episode 608.
You’ll get lots of information and inspiration by watching the show but in this post I’d like to share some additional insider tips, techniques, and ideas with my Allbrands blog friends.
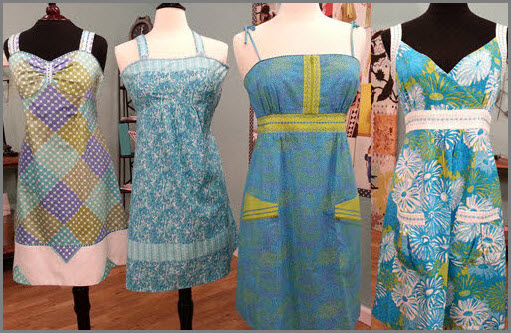
I love to sew garments and I had a lot of fun creating each of these dresses “from scratch.” Using a couple simply styled sundress patterns as my starting point, I added contrasting fabric bands in strategic places on four different dresses. Dress patterns are abundant right now so you’re sure to find something that suits your taste. Of course these same ideas will work for dresses with sleeves as well as many other garments.
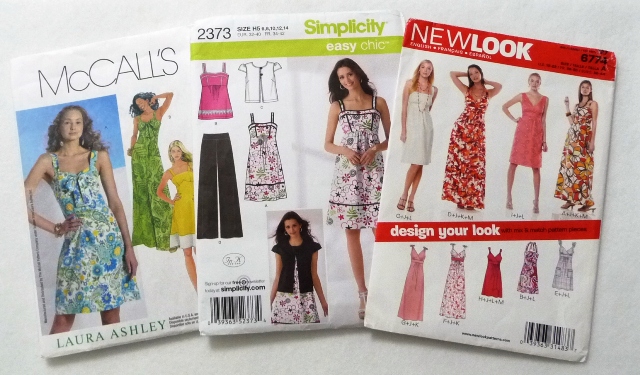
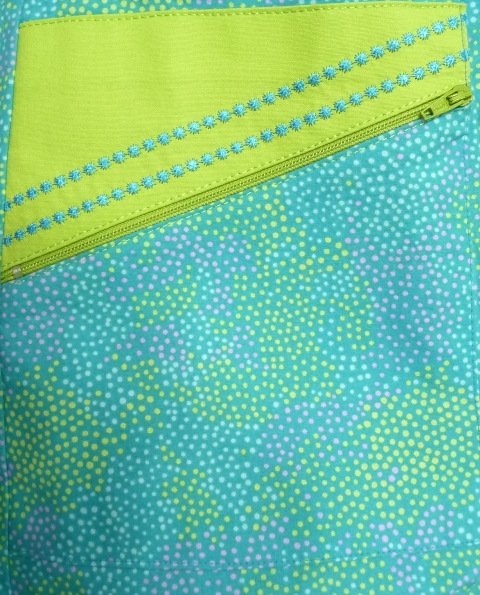
Deciding where to add decorative dress bands is up to you. You may find dress patterns that already include a separate pattern for a band at the waist, hemline, etc. In addition, pocket tops, sundress straps, and bodice bands are perfect places for rows of decorative stitching. Feel free to add bands of fabric in other areas too! If you have a favorite pattern without a separate pattern piece, it’s easy to add a band by drawing a line, cutting the pattern, and adding seam allowance to each cut edge. When you sew the pieces back together you’ll end up with the same size piece you started with. You can cut apart most any pattern piece as long as you remember to add appropriate seam allowance. I like to trace the original pattern onto paper or tracing cloth, draw lines for placement of contrasting pieces, and then trace off new patterns to use for cutting my fabric. Consider inserting zippers for a fun and functional accent. I took a plain pocket piece and did just that for one of my sundresses.
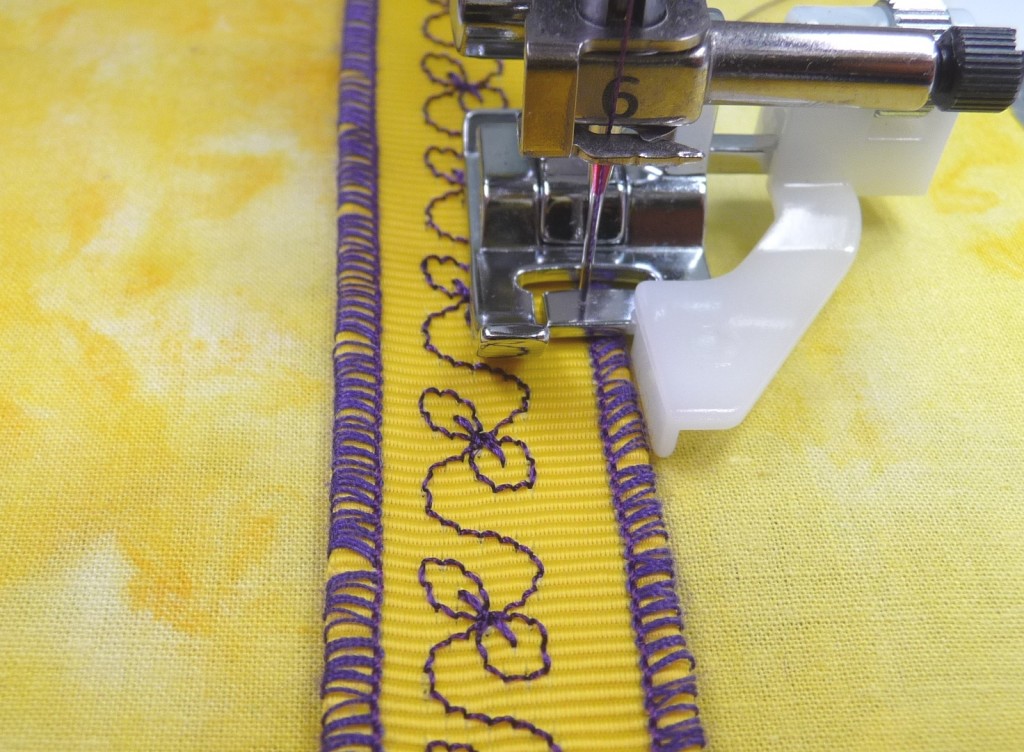
In the show I talk about preparing your pattern and your fabric for the decorative stitching. In most cases I stitched multiple rows of decorative prior to constructing the garment. Ribbons add to the mix of dress embellishments. Decorative stitches combined with ribbons create a colorful, coordinated look. I used decorative stitches on ordinary ribbons in a recent blog for Allbrands. I invite you to CLICK HERE and read this post for a few additional basic ribbon stitching tips, including some needle, thread, and stabilizer guidelines.
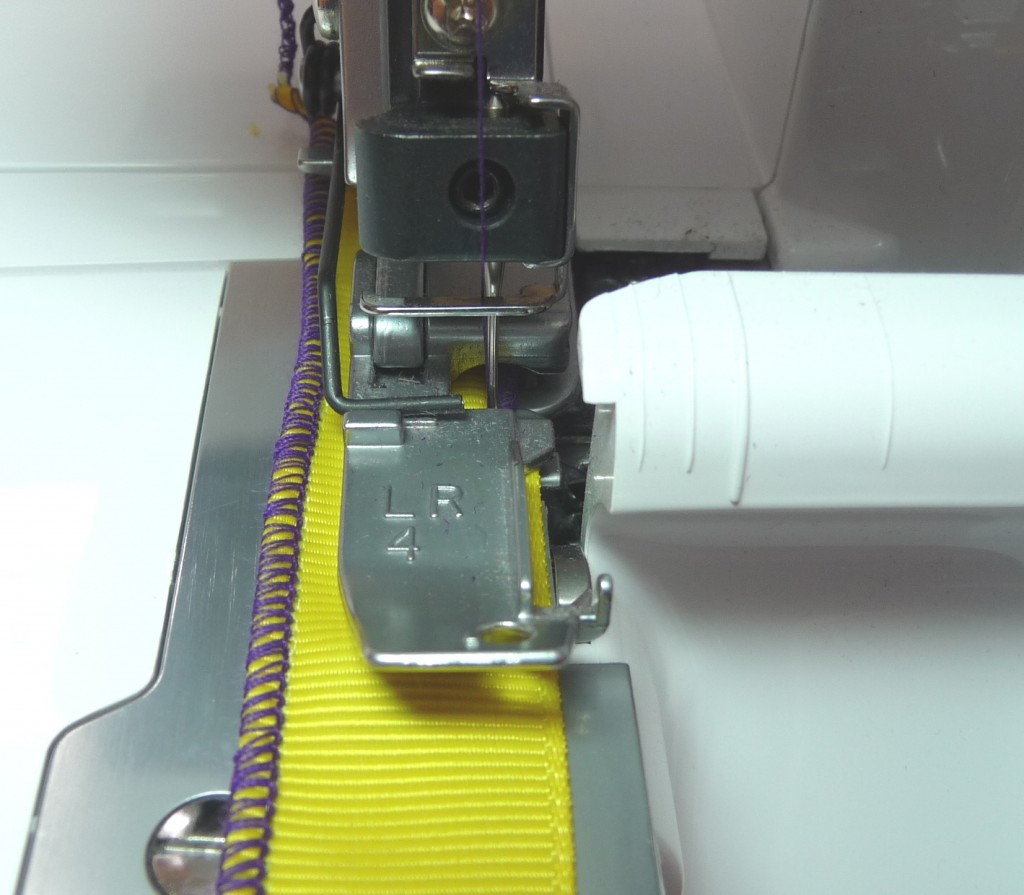
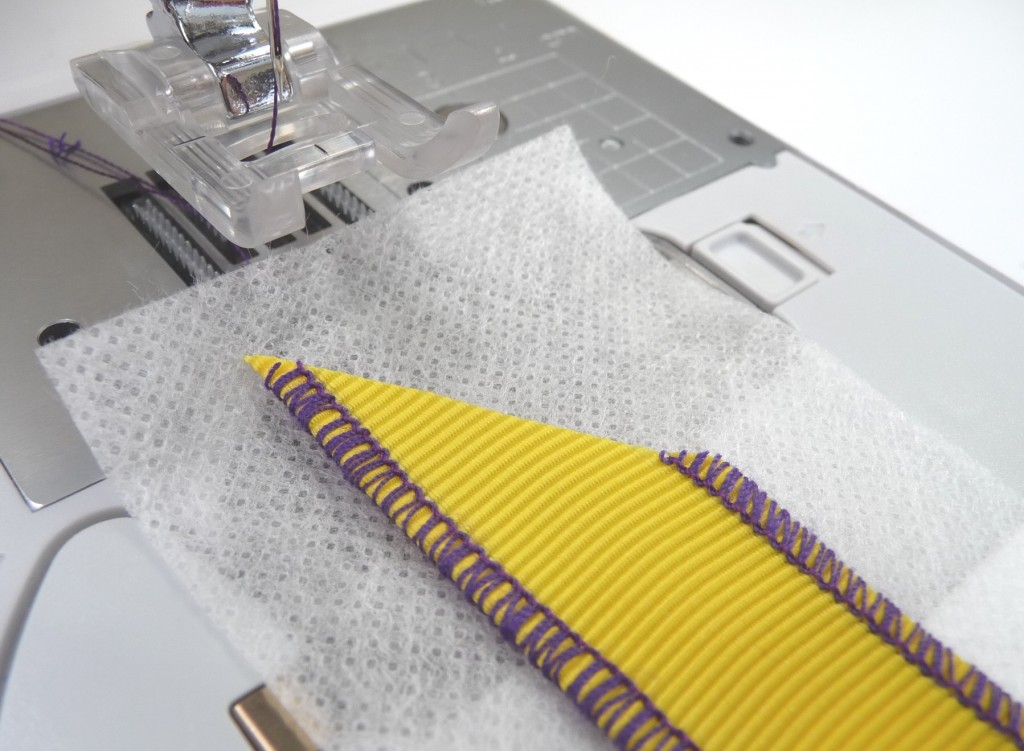
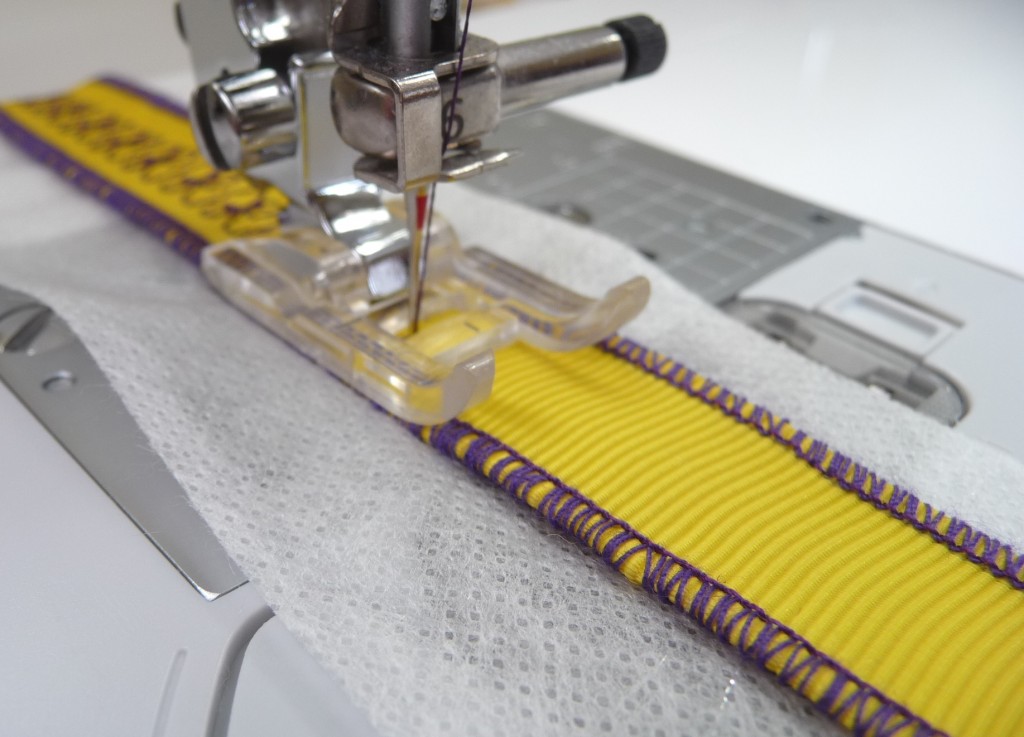
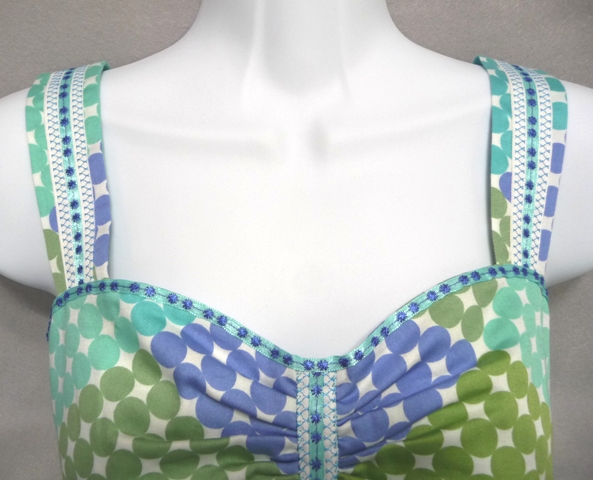
To add ribbon to the sundress straps I placed my ribbon on top of the fabric piece and stitched through all the layers, anchoring the ribbon in place as I added the decorative stitches. Sundress straps become a focal point on the garment with a decorative ribbon stitched down the center. By repeating the technique on the bodice and the banded hem this dress gets a designer style touch that makes it unique. For the banded hem and the bodice I chose to stitch the ribbon separately on a base of stabilizer. Then I used a fine fusible webbing to attach the ribbon to the dress.
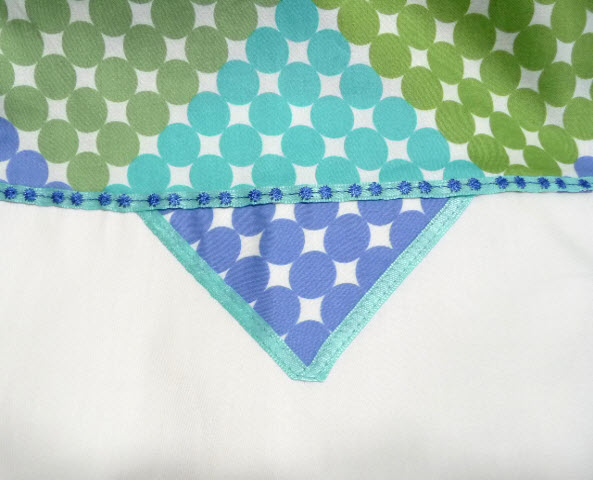
On another dress I selected a sheer ribbon and sewed a light weight decorative stitch down the center. To stitch on this soft sheer ribbon I opted for a light weight fibrous type of water soluble stabilizer, instead of my usual tear away stabilizer. I use this type whenever I need stabilizer to totally disappear when I’m finished. For added stability I layered a strip of stabilizer over the top and bottom of the ribbon. After washing out the stabilizer I used a narrow zig-zag stitch to attach the ribbon to the upper embellished band. I had a bit of leftover ribbon so I gathered the edge of two small pieces and formed little rosettes to decorate the straps. The resulting trim is subtle but pretty.
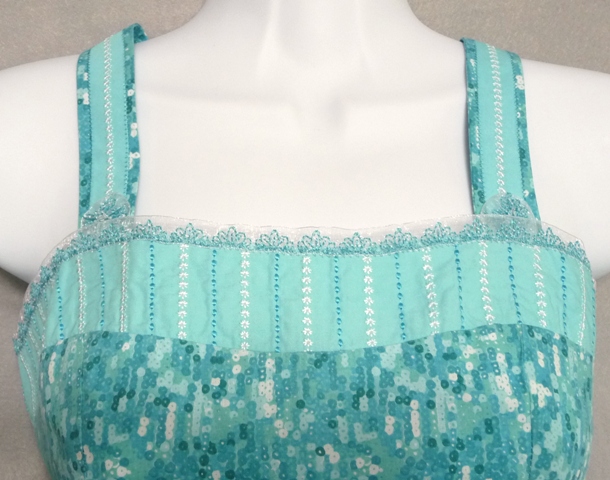
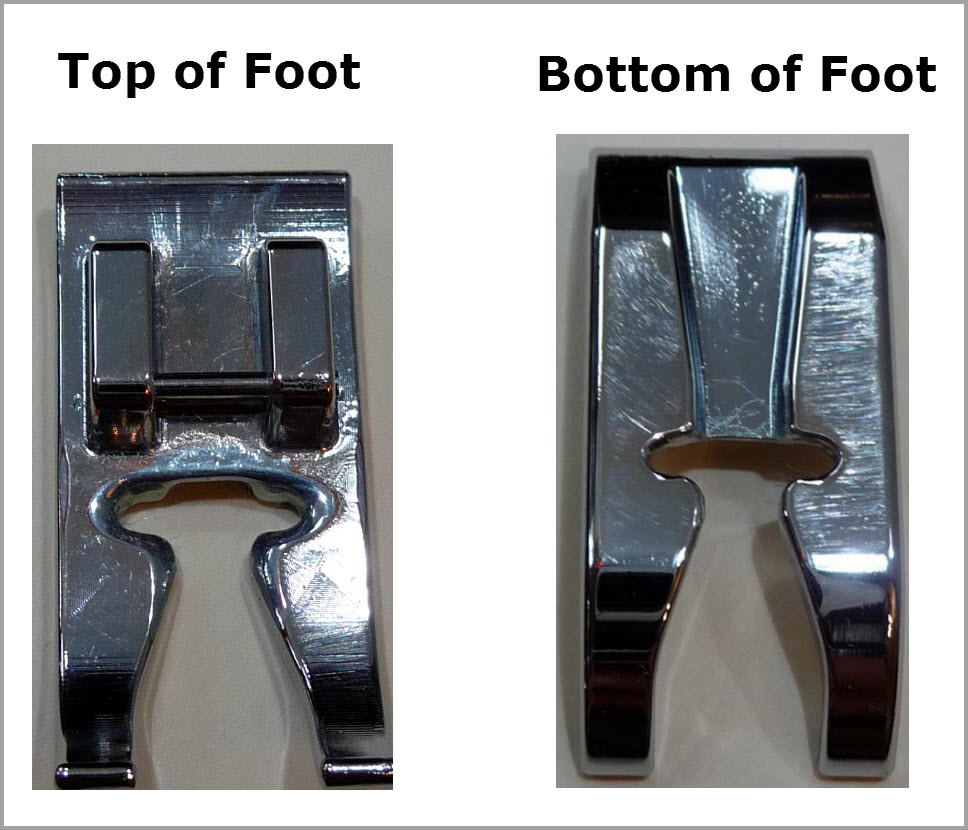
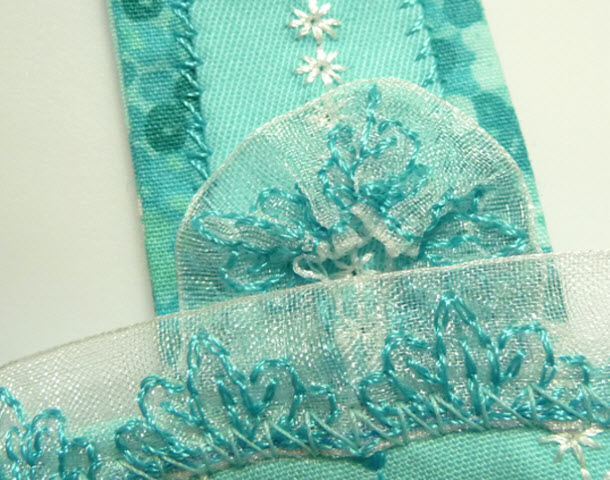 While creating the dresses I had fun playing with different decorative stitches. Some of the bands feature candlewick style stitches. You may have a stitch like this built in to your machine. Candlewick stitches are usually defined as a stitch that resembles a hand sewn French knot, or a little star like stitch that produces a heavy bump, almost like a bead. The dress in the photo above has alternating rows of the French knot style stitch, shown in turquoise thread. My zippered pocket shows an example of the star style candlewick stitch on the lime green accent piece. There are quite a few variations of this stitch found on different machines. It is likely you’ll need a Candlewicking presser foot to successfully sew these bulky stitches. This foot has a deep groove running the full length of the foot, gliding over the bumps formed by candlewick stitches.
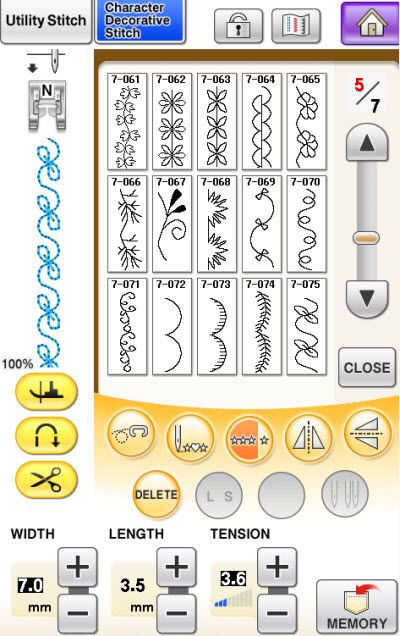
If you have a Brother Model machine with the My Custom Stitch™ feature you can create candlewick stitches right on the screen of the machine. It’s a simple matter of plotting stitch points along a special gridline. These stitch points then serve as coordinates telling the machine how to form the stitch. There is an entire book aptly titled My Custom Stitch™ written to guide you in creating your own special stitches. CLICK HERE to research Brother Model machines that include the My Custom Stitch™ feature. On this same page you will find a link from Allbrands to the Brother Design Studio where you will discover many free My Custom Stitch™ design coordinates, including the French knot style candlewick stitch. Follow the path outlined below to locate this stitch, along with many more My Custom Stitch™ coordinates available from Brother.

These dresses are perfect for making use of the many decorative stitches available for your particular machine. To use decorative stitches to the fullest, I encourage you to consider making a sampler of the stitches built in to your machine. If you add a new My Custom Stitch™ to your repertoire you will want to stitch a sample of that stitch too. To make your sampler, select a firm woven fabric in a light color, adding medium weight fusible interfacing to the wrong side. Place an additional layer of tear away underneath. Use contrasting thread to sew out each stitch in your entire stitch menu, from beginning to end. I’m sure you’ll see many stitches that are far more beautiful in thread than they are on the screen of your machine or printed in the instruction manual. Keep your sampler handy and it will inspire you to use those pretty stitches more often. I hope these ideas empower you with motivation to make your own summer sundress or apply these decorative techniques to other garments and crafts.
For those of you have been following this series you may recall that last time I said I would talk about embellishing ribbons with bobbin work decorative stitching. Bobbin Work stitchery isyet another of my all time favorite embellishment techniques. I promise to cover that subject next time as I finish up this series. Until then, happy sewing from your sewing friend,

About the author: Joanne Banko is a freelance sewing educator and a self proclaimed sewing cheerleader. You can see Joanne’s online teaching segments broadcast on the popular PBS TV show, It’s Sew Easy, and online at www.itsseweasytv.com. She is a frequent contributor to Designs in Machine Embroidery magazine and author of the book Wrapped in Embroidery. The book is available at AllBrands.com. CLICK HERE for a preview. Visit Joanne at http://www.letsgosew.com/.

